

News

Miro: A New Standard in Responsible Innovation

Miro: A New Standard in Responsible Innovation The Miro monitor arm is setting new benchmarks in sustainability. It offers a high-performance solution without compromising on environmental responsibility. Designed with careful material selection, local sourcing, and longevity in mind, Miro’s responsible approach to design and unique manoeuvrability set it apart from the competition. Sustainable Choices Miro is crafted from energy-efficient materials with a lower carbon impact....

Read more
HSE Advisor

Role Purpose Support in the development, implementation and maintenance of the company’s Health, Safety & Environmental policies, processes, operational procedures, and standards.  Ensuring best practice and championing a continually improving HSE culture within the business. Key Responsibilities Liaise with and provide support to all areas of the business to eliminate, mitigate or reduce identified HSE exposures. Partner with the production management team and team leaders,...

Read more
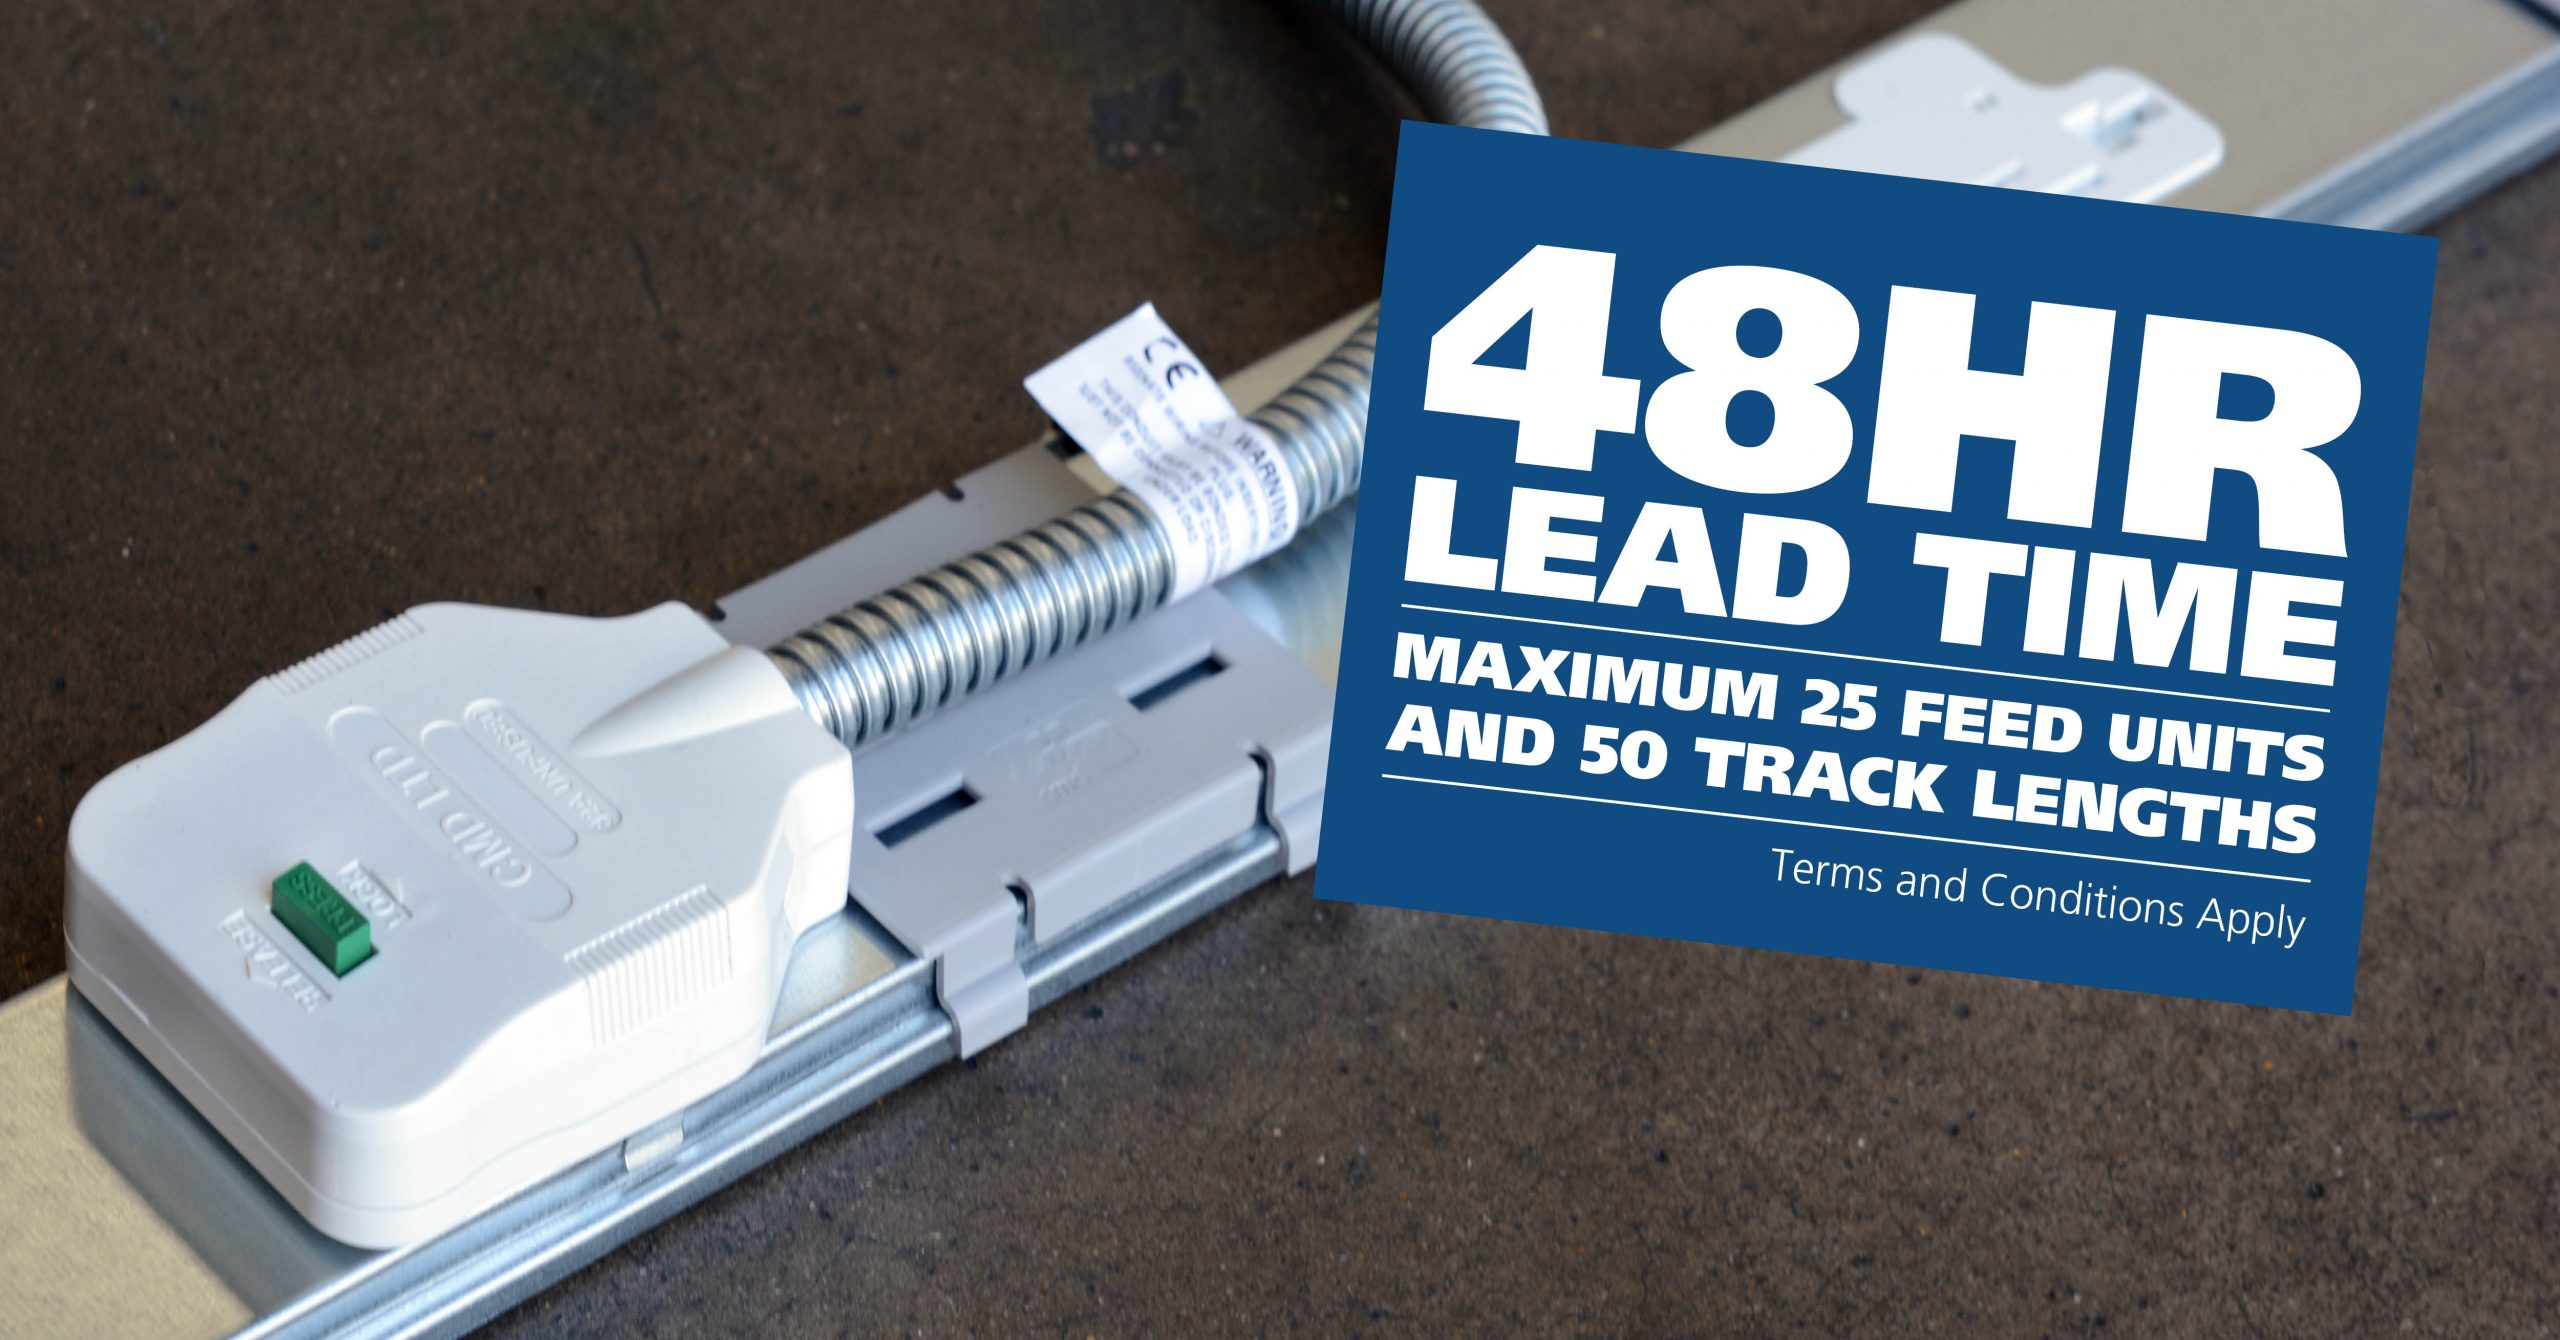
CMD Ltd LAUNCHES 48-HOUR TURNAROUND ON BETATRAK® RAPID ORDERING SERVICE

CMD Ltd, the specialist in power distribution systems, workstation power and monitor arms, has launched a rapid ordering service for its Betatrak® underfloor powertrack distribution systems and accessories, with a commitment to delivering within 48-hours of an approved purchase order*. The service enables customers to order up to 50 lengths of Standard or Clean Earth (C/E) low noise Betatrak, along with up to 25 feed...

Read more
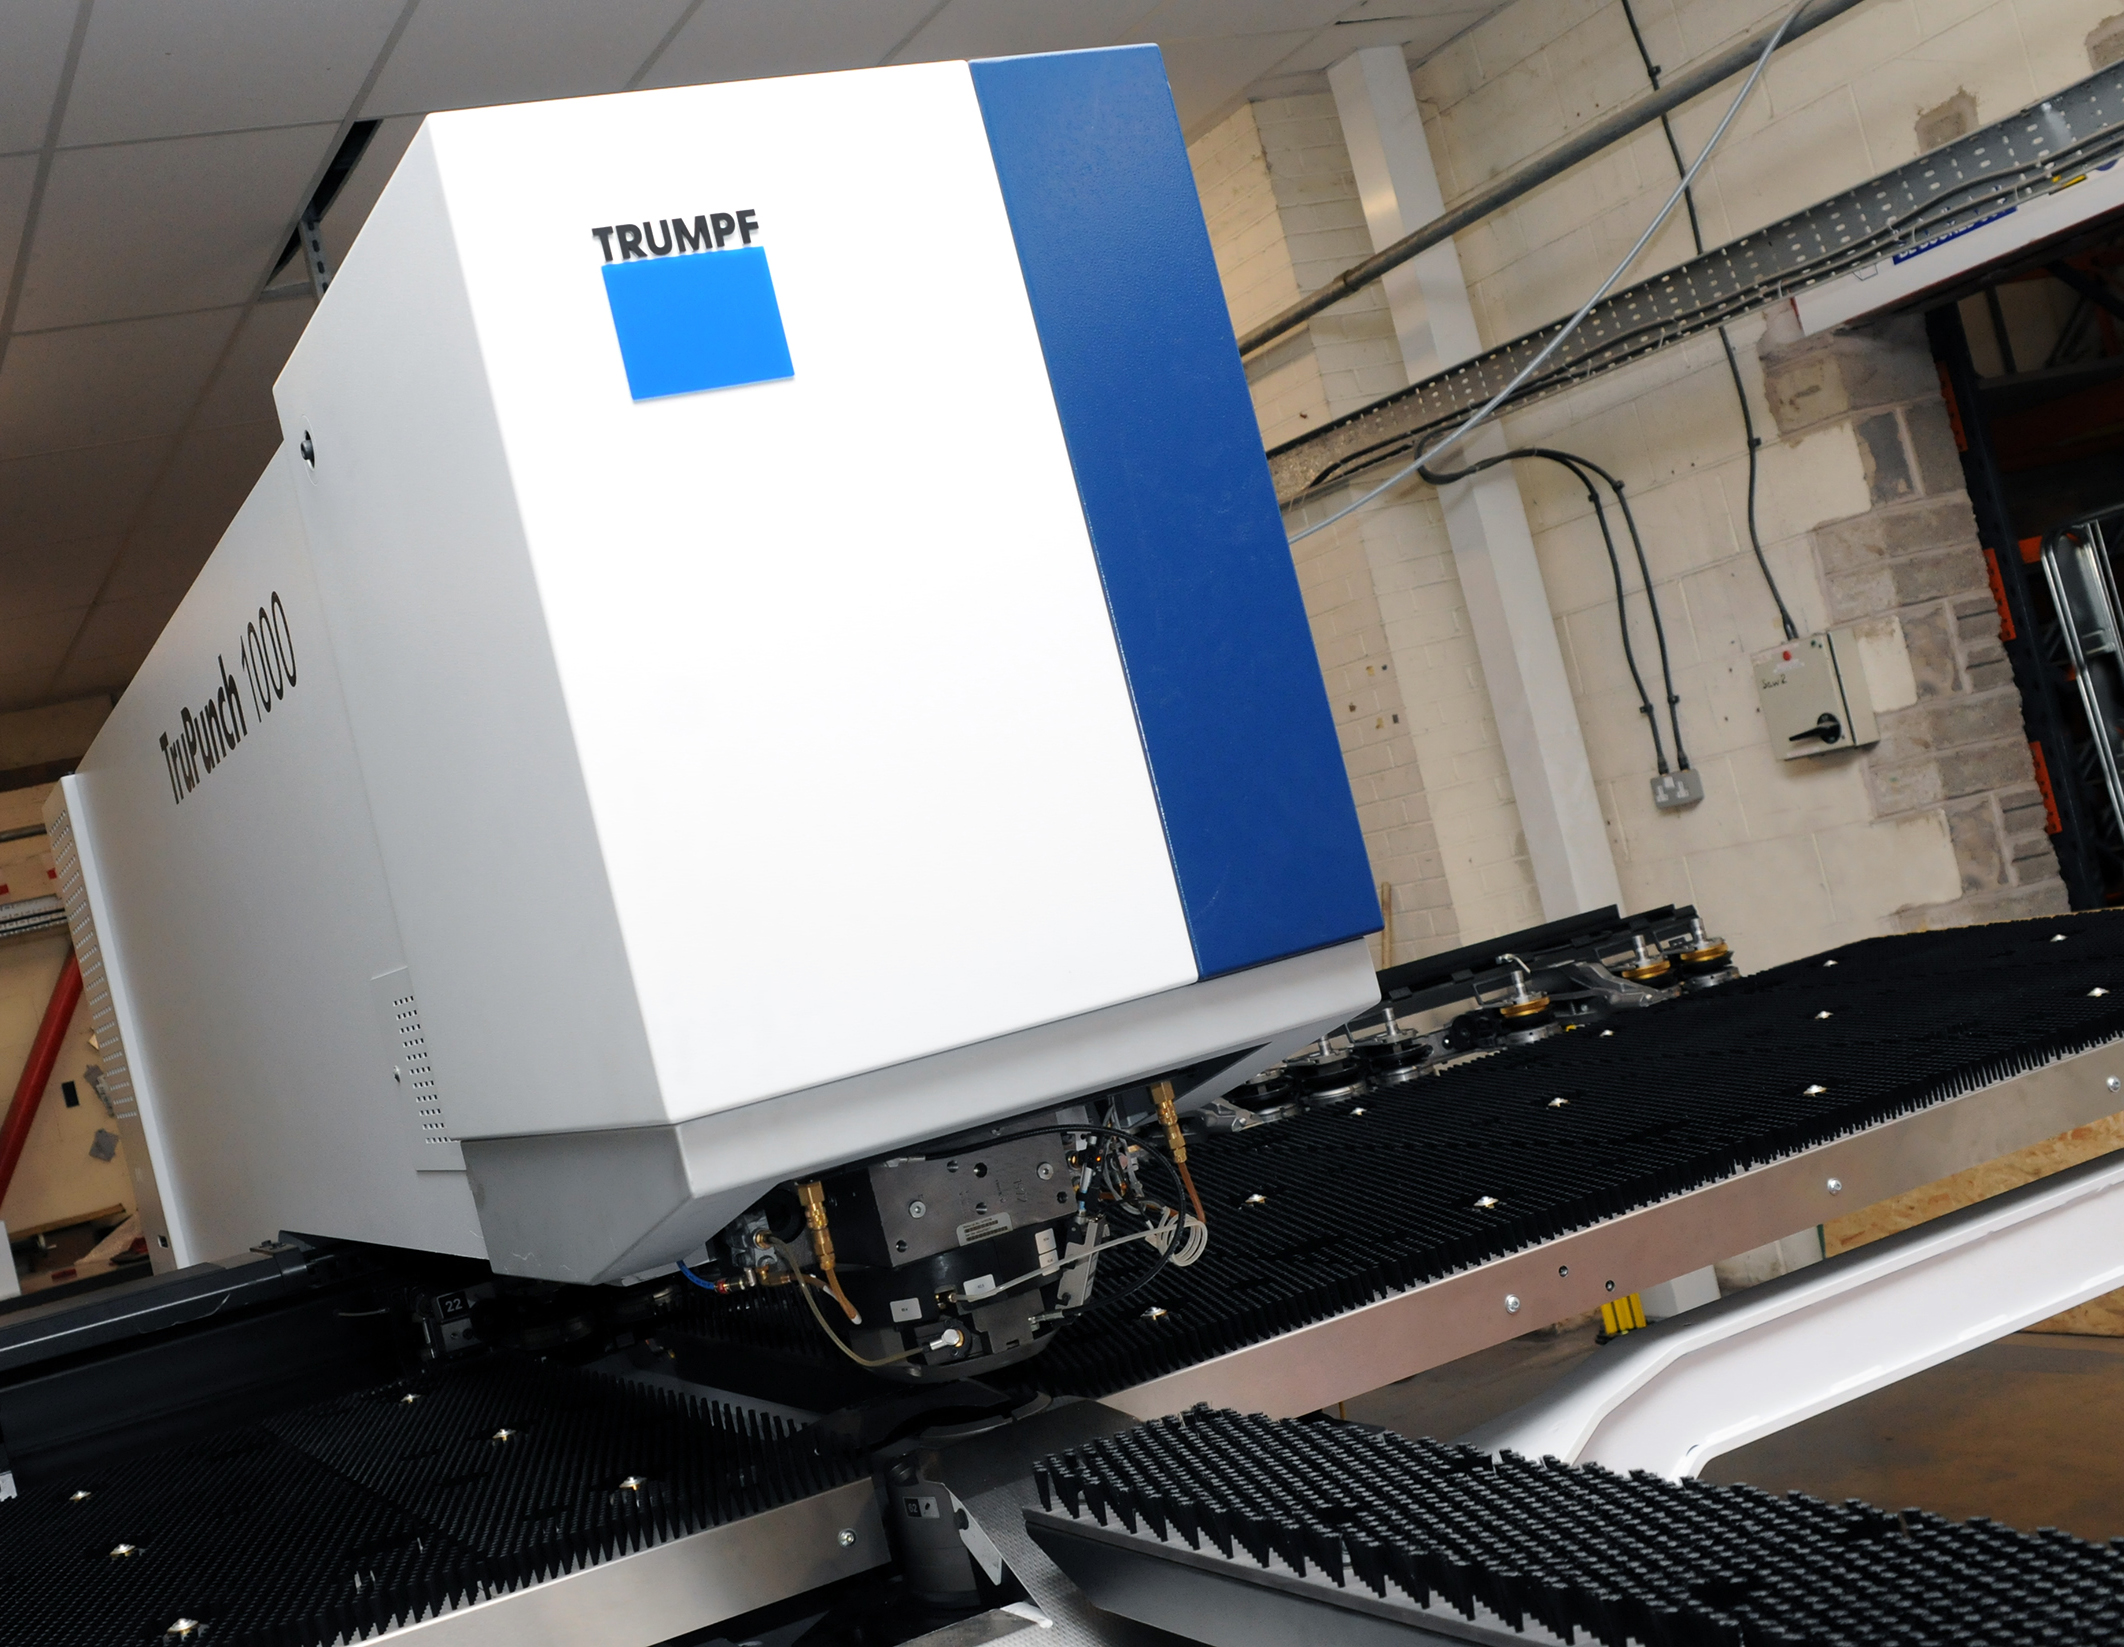
CMD INVESTS £1/4 MILLION IN NEW MACHINE AS PART OF FACTORY UPGRADE

We have invested in a new £1/4m TRUMPF CNC metal punch as part of an asset renewal strategy for our UK manufacturing capability. The new machine will be used in the production of a wide variety of our power distribution systems and workstation power products at our Rotherham factory. Suitable for handling sheet metal between 0.9mm and 3.0mm thick, the new machine will replace one...

Read more
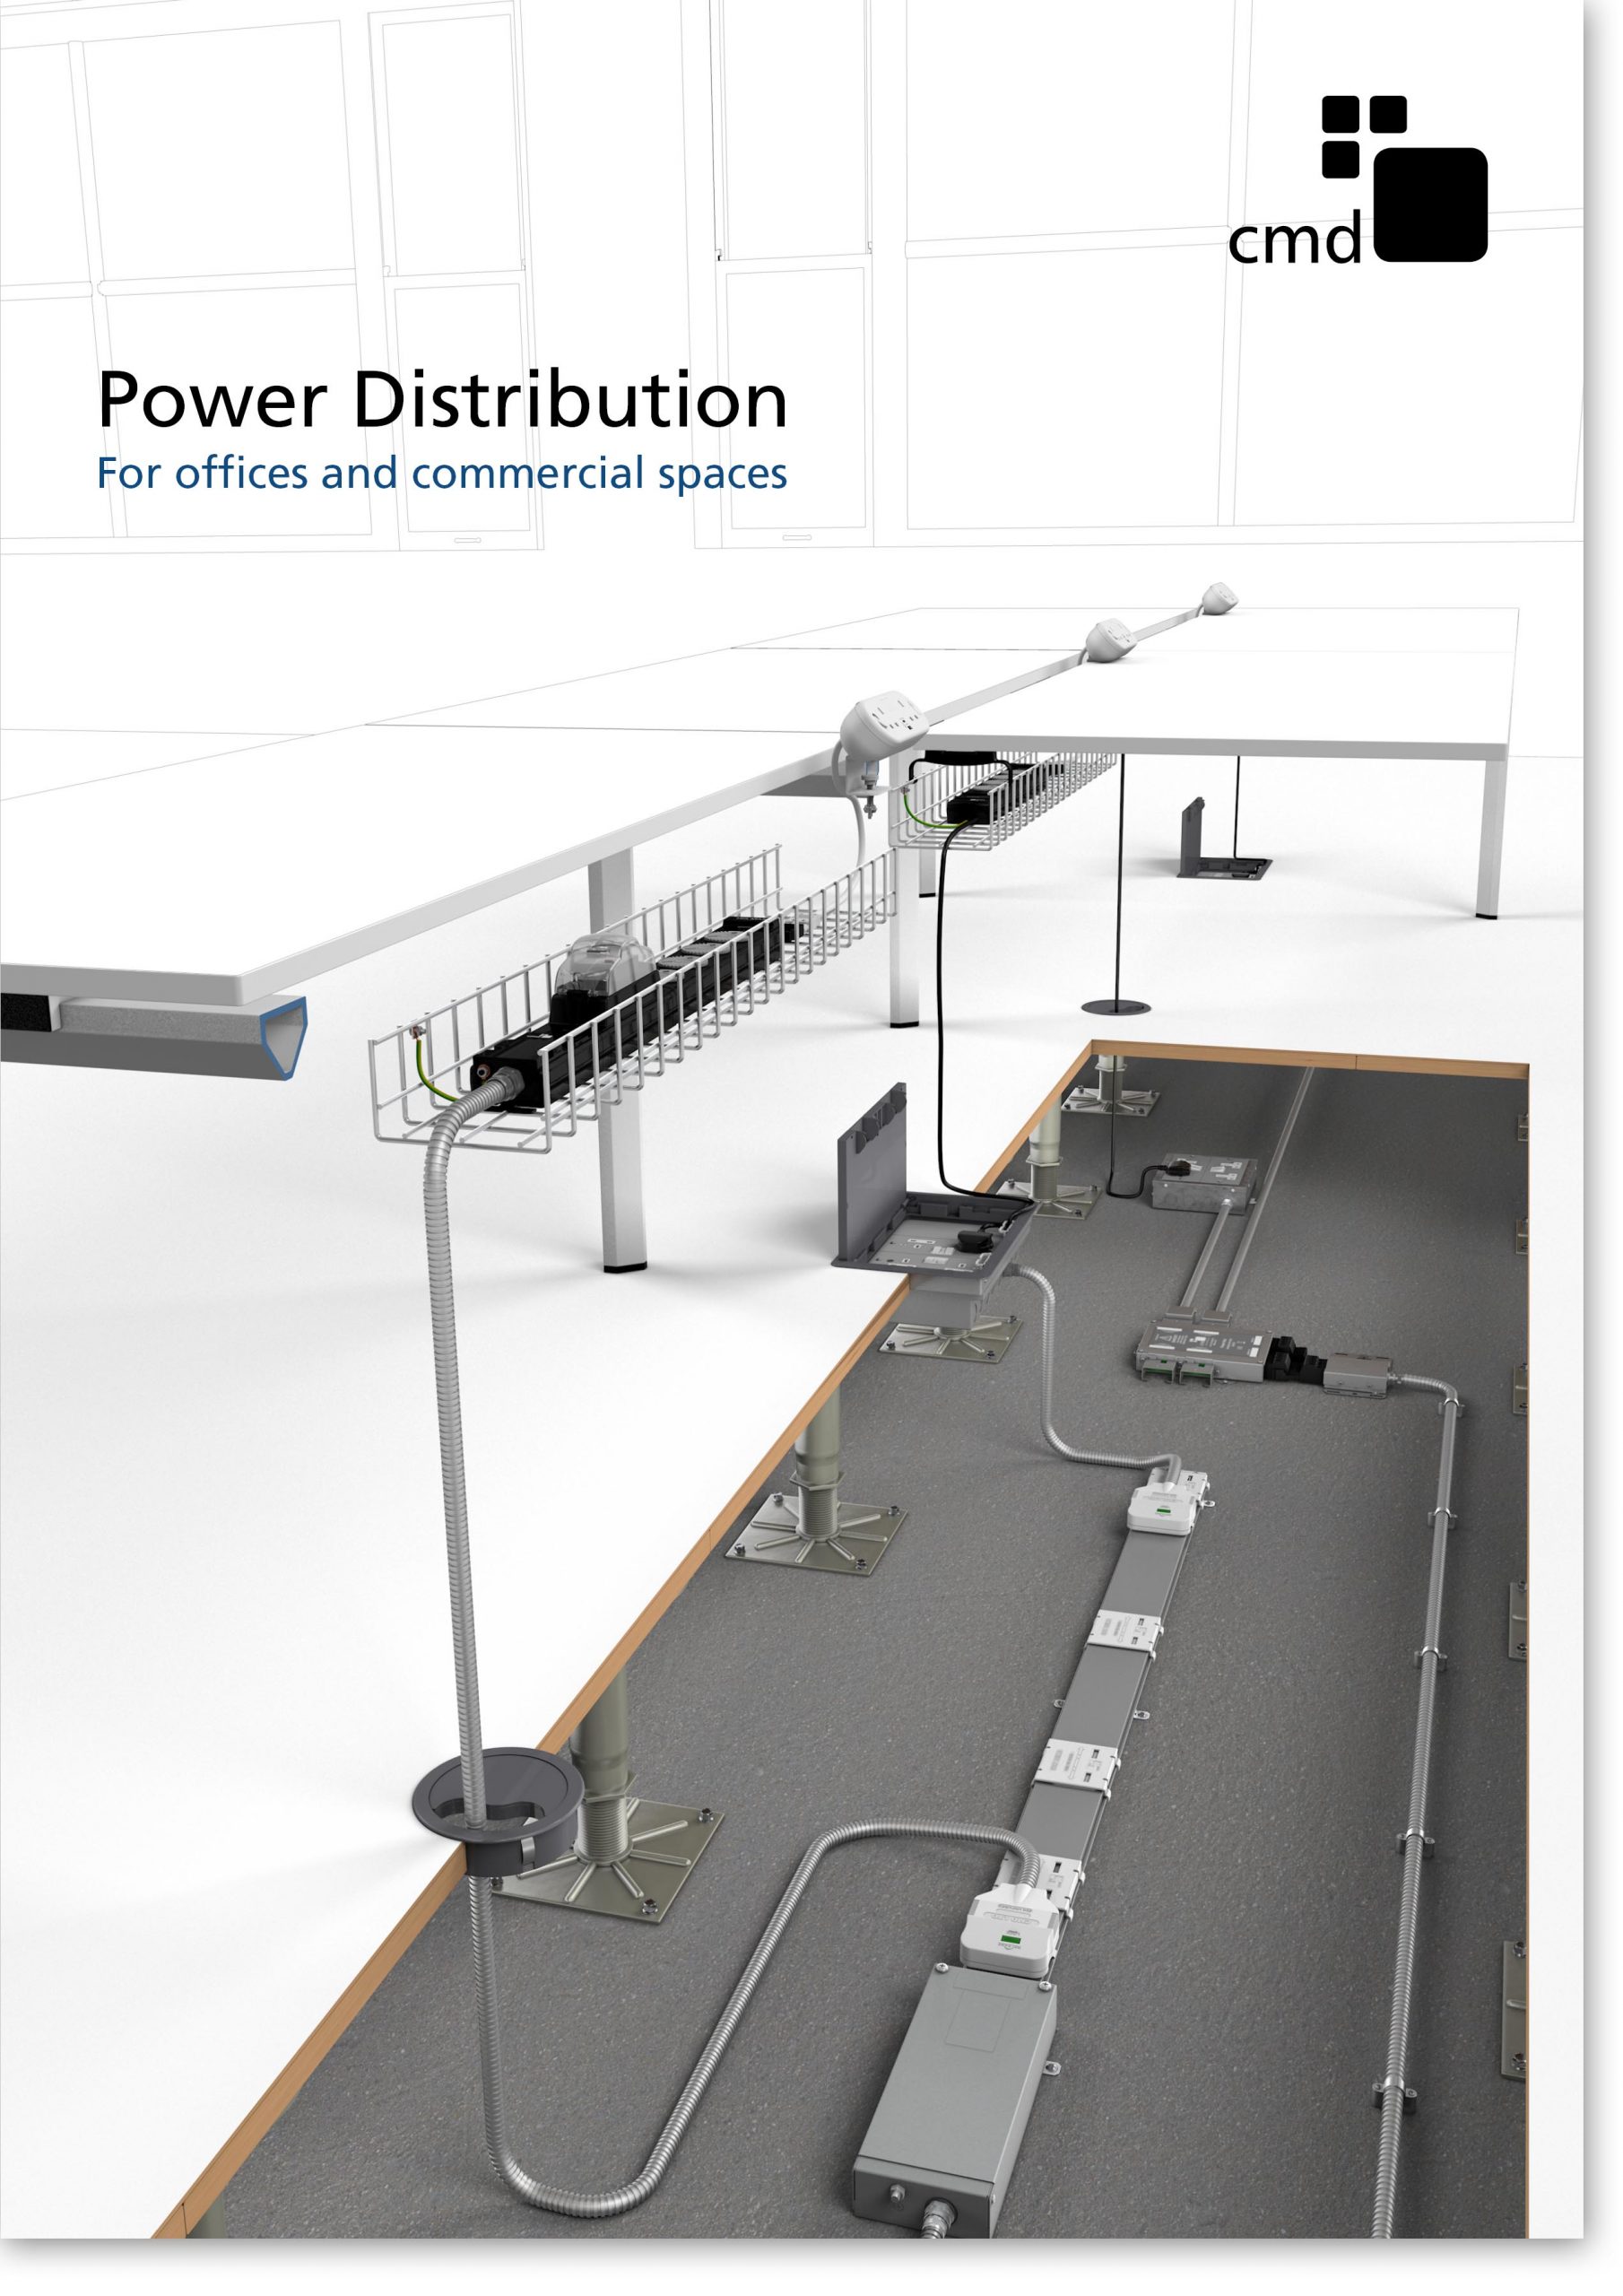
CMD CATALOGUE PROVIDES TECHNICAL POWER DISTRIBUTION GUIDE

CMD Ltd has released a new catalogue, providing an easy to follow technical guide to our power distribution systems and plug and play desk modules. Detailing CMD’s full range of UK-manufactured power distribution systems and plug and play desk modules, the catalogue will be a helpful source of information to M&E engineers and contractors alike to understand how our power distribution systems connect together and...

Read more
Power Distribution Catalogue
CMD Ltd PLAYS ESSENTIAL ROLE IN ELECTRICAL FIT OUT AT LONDON’S PRESTIGIOUS OFFICE DEVELOPMENT

CMD Ltd, specialist in workplace connectivity and ergonomic solutions, has provided a flexible and high-quality power distribution network for The Ray, a prestigious office development in London’s Farringdon. Well-known for being the former site of The Guardian newspaper, The Ray now stands as an 83,000ft² office development characterised by a modernised warehouse aesthetic, with level two now occupied by a global social media company. The...

Read more

The Ray
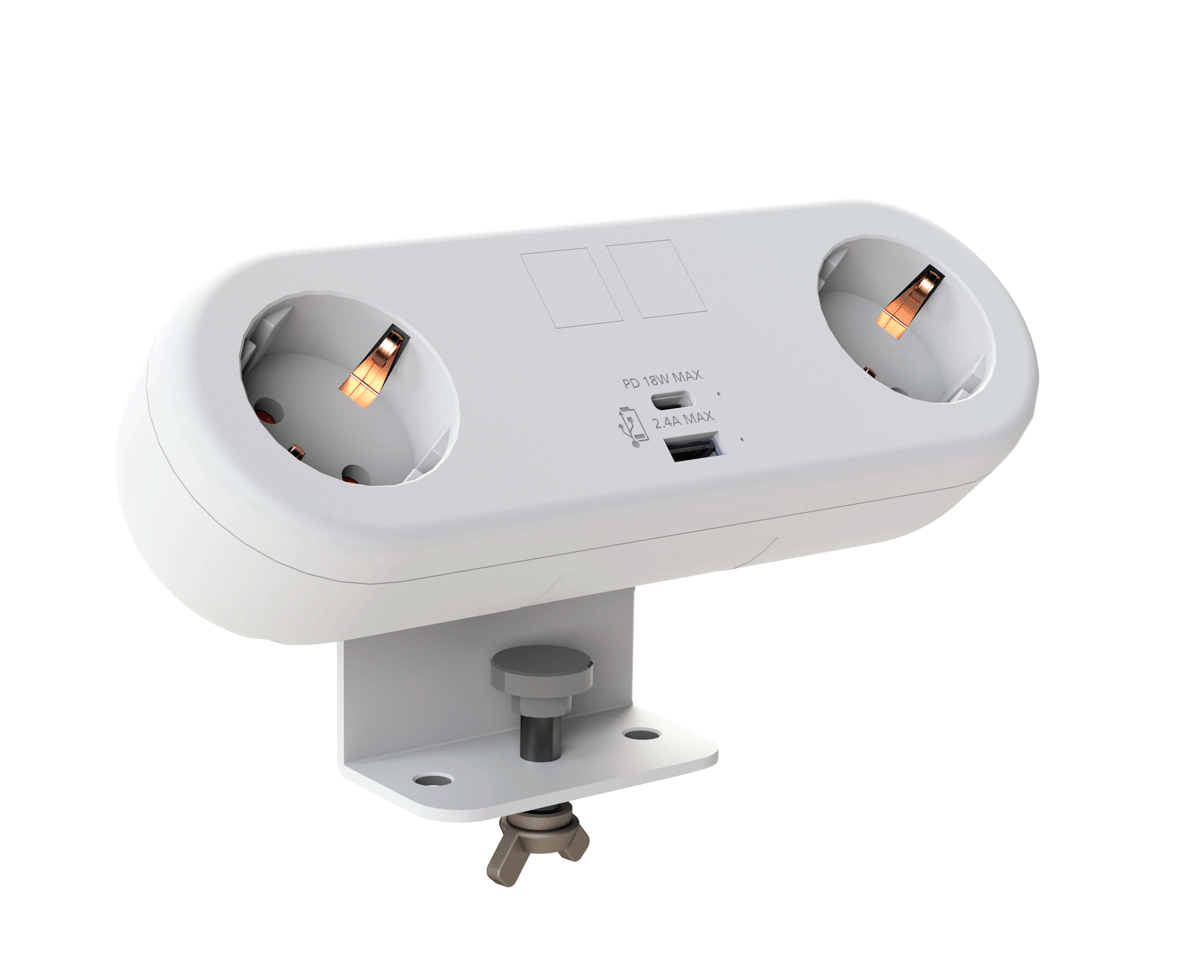
CMD plugs in to european opportunity with Schuko Capsule unit launch

CMD Ltd, the specialist in power and connectivity solutions for commercial environments, has launched a Schuko version of its popular fixed format Capsule workstation power module for export to mainland Europe and beyond. A popular on desk power module comprising two sockets and dual USB (type A and C) chargers, CMD’s Capsule unit is already widely specified in the UK as an off-the-shelf workstation power...

Read more
CMD White Schuko Capsule Desk Power Module
CMD LTD EXTENDS MONITOR ARM RANGE WITH THE LAUNCH OF REACH PLUS

CMD Ltd, the specialist in ergonomic and connectivity solutions for commercial interiors, has completed its Reach monitor arm range with the launch of the Reach Plus. Available in single or dual screen options, the Reach Plus has been designed to provide an ideal solution for both single and dual screen workstation configurations, or can be used with next generation of large format curved screens. Suitable...

Read more

CMD Ltd DEMONSTRATES THE ART OF POWER DISTRIBUTION AT THE UNIVERSITY OF WARWICK

CMD Ltd, the specialist in workplace connectivity and ergonomic solutions, has provided Betatrak busbar power distribution and a range of electrical accessories for two major capital investment projects at the University of Warwick. Designed by Fielden Clegg Bradley Studios, the £33 million Faculty of Arts building is a showpiece development comprising four interconnected structures set around a central atrium, which will enable inter-disciplinary collaboration across...

Read more

University of Warwick
CMD BRINGS HARMONY TO COVENTRY UNIVERSITY RESEARCH FACILITIES

CMD Ltd, the specialist in power distribution solutions and workstation power and ergonomics, has provided under desk and on desk power modules for the refurbishment of three Coventry University research buildings. Located on Coventry University Technology Park, a business park designed to encourage collaboration between the university and knowledge-based businesses, the three buildings are being repurposed as office accommodation for university research teams. The refurbishment...

Read more

Coventry University

How to Repair a Car AC Compressor in 2026?

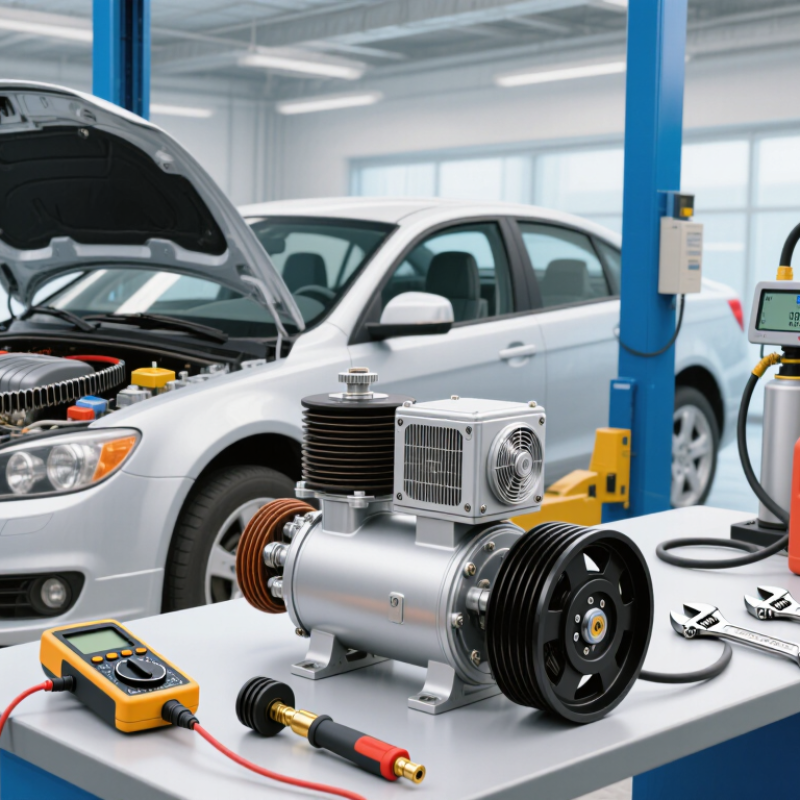
How to Repair a Car AC Compressor in 2026? This question deserves careful diagnosis, not a rushed parts replacement. Repairing Car Ac Compressor work involves refrigerant recovery, electrical testing, oil inspection, and accurate pressure readings. A compressor may appear faulty while the real problem sits in a relay, clutch coil, condenser, or clogged expansion valve.

ASE-certified automotive instructor Jason Fenske offers a practical reminder: “Test the system before replacing the part.” That principle guides this article. It also protects your budget. A clicking clutch, weak airflow, or warm cabin air can have several causes. The dashboard temperature setting alone proves very little. A professional technician should inspect the serpentine belt, scan for fault codes, measure high-side and low-side pressures, and check for metallic debris. Safety comes first.

Some repairs are reasonable. A faulty clutch coil, pulley bearing, or electrical connector may be replaceable. Internal compressor damage often demands replacement and system flushing. Compressor failure can spread shiny metal particles through the lines. Missing that detail can destroy a new compressor quickly.

The 2026 repair process also requires compatible refrigerant, correct oil, and manufacturer-specific procedures. Guesswork remains tempting. It is also expensive. This guide explains what skilled technicians examine, which tools they use, and when repair becomes replacement. It acknowledges an uncomfortable truth: not every compressor should be saved. An honest diagnosis may cost more today, yet prevent repeated failures tomorrow.

How to Repair a Car AC Compressor in 2026?

Assess the Car AC Compressor Problem and Confirm the Diagnosis

How to Repair a Car AC Compressor in 2026?

Assess the Car AC Compressor Problem and Confirm the Diagnosis

Begin with symptoms, not assumptions. A warm cabin, weak airflow, or clicking noise can mimic compressor failure. Check the belt, clutch, electrical connector, fuse, and condenser airflow. The U.S. Environmental Protection Agency notes that a typical vehicle air-conditioning system may lose about 10% of its refrigerant annually. Low charge can therefore imitate a damaged compressor.

Use manifold gauges and temperature readings together. With the engine running, record high-side and low-side pressures at a stable engine speed. Compare them with the vehicle’s service data and ambient temperature. A pressure imbalance, metallic noise, or compressor that fails to engage strengthens the diagnosis. Do not add refrigerant blindly. Excess charge can raise discharge pressure and damage components.

SAE mobile-air-conditioning service standards emphasize accurate recovery, evacuation, charging, and leak testing. Electronic leak detectors can find small leaks near hose crimps, seals, and the compressor shaft. Inspect the recovered oil for dark particles or glitter-like metal. That detail matters. Debris may require system flushing and component replacement, not only compressor installation. I once trusted a pressure reading too quickly; the real fault was a restricted condenser. Diagnosis needs patience, and sometimes a second test.

How to Repair a Car AC Compressor in 2026? – Assess the Car AC Compressor Problem and Confirm the Diagnosis

Use the following diagnostic sequence before replacing or rebuilding an automotive air-conditioning compressor. Test results should be compared with the vehicle service information, the specified refrigerant, and the actual ambient conditions.

Car AC Compressor Problem Assessment and Diagnosis Checklist
Diagnostic Area Observable Symptom or Test Recommended Measurement or Inspection Typical Finding Likely Interpretation Confirmation Step Recommended Repair Direction Risk Level
Cooling performance Air from the vents is warm or only slightly cool. Measure center-vent temperature with the engine running, blower on medium, and the system set to maximum cooling with recirculation selected. Vent temperature remains close to cabin temperature after several minutes. The compressor may not be engaging, or the system may have insufficient refrigerant or a restricted flow path. Check compressor engagement, system pressures, electrical controls, and refrigerant charge using the approved service procedure. Correct the confirmed cause; do not add refrigerant based on vent temperature alone. Medium
Compressor clutch engagement The pulley rotates, but the compressor hub does not engage when cooling is requested. Observe the clutch while checking the control circuit, fuse, relay, pressure sensor, and coil resistance according to service specifications. No magnetic engagement, or engagement occurs intermittently. Possible open clutch coil, excessive air gap, low-pressure protection, wiring fault, or control-module inhibition. Verify the required voltage and ground at the clutch connector. Do not bypass pressure protection for normal operation. Repair the wiring or control fault, adjust the clutch only when permitted, or replace the clutch or compressor if damaged. High
Unusual compressor noise Grinding, rattling, squealing, or knocking occurs when the AC operates. Listen with the hood open and compare the noise with the AC switched off. Inspect the belt, tensioner, pulley bearing, and compressor body. Noise appears or becomes significantly louder when the compressor is loaded. Possible internal wear, damaged bearings, clutch or pulley failure, belt misalignment, or excessive system pressure. Inspect compressor shaft rotation with the system depressurized only by an authorized recovery procedure; check for metal debris in the circuit. Replace or professionally rebuild the compressor when internal damage is confirmed; flush or replace contaminated components as required. High
Drive belt and pulley Belt squeal, visible belt dust, pulley wobble, or burning-rubber odor. Inspect belt ribs, tension, alignment, pulley bearing play, and clutch surface condition with the engine off. Cracks, glazing, frayed edges, wobble, or rough pulley rotation. The compressor may be placing excessive load on the belt, or the pulley bearing may be failing independently. Compare pulley rotation and bearing noise with the compressor unloaded. Check for seized or difficult shaft rotation only under safe workshop conditions. Replace worn belt or pulley components; replace the compressor if it is seized or mechanically damaged. High
Refrigerant pressure Cooling is poor, and pressure readings appear abnormal. Connect approved manifold or digital service equipment and record low-side and high-side pressures at a known ambient temperature. Readings are outside the vehicle manufacturer's specified range or show an unusual low-side/high-side relationship. Possible undercharge, overcharge, air or moisture contamination, restriction, condenser airflow problem, or compressor inefficiency. Recover and weigh the refrigerant before recharging. Compare the recovered amount with the specified charge and inspect for leaks. Repair leaks, evacuate the system, and recharge by the specified mass. Never diagnose charge level from pressure alone. High
Leak detection Refrigerant loss is suspected, or the system repeatedly needs recharging. Inspect hose connections, service ports, condenser, evaporator drain area, compressor shaft seal, and pressure switch using approved leak-detection methods. Oil residue, fluorescent dye trace, electronic detector response, or bubbles at a connection. A refrigerant leak is present; compressor replacement may not be necessary unless the compressor itself is the leak source. Confirm the exact leak location after cleaning the area and repeat the test where necessary. Replace seals or the leaking component, then evacuate and recharge the system correctly. High
Low-side restriction Low suction pressure, weak cooling, or frost near a restriction point. Compare pressure readings and inspect temperature changes across the expansion device, filter-drier, and related lines. Abnormal pressure drop or a sharp temperature difference across a component. Possible blocked expansion device, restricted filter-drier, kinked hose, or contamination. Confirm the restriction with temperature measurements and component-specific testing after refrigerant recovery. Replace the restricted component and address contamination before recharging. High
High-side pressure and airflow Cooling decreases at idle, or the engine cooling fan runs abnormally. Inspect condenser fins, airflow path, fan operation, and high-side pressure under controlled test conditions. High-side pressure rises excessively, especially at low vehicle speed. Insufficient condenser airflow, blocked fins, overcharge, non-condensable gas, or compressor displacement problem. Verify fan command and airflow before condemning the compressor. Confirm refrigerant mass and condenser condition. Repair fan or airflow faults, clean or replace the condenser when necessary, and correct the refrigerant charge. High
Compressor efficiency The compressor engages, but the system produces little cooling. Evaluate the pressure difference between the low and high sides while checking compressor speed, charge level, and condenser airflow. Pressure separation remains insufficient after correct charge and airflow are confirmed. Internal valve, piston, scroll, or drive mechanism wear may be preventing effective compression. Rule out incorrect charge, restrictions, sensor faults, and airflow problems before identifying compressor inefficiency. Replace or rebuild the compressor using compatible parts and follow the required oil and flushing procedures. High
Compressor oil and contamination Oil leakage, dark oil, metallic particles, or compressor seizure is found. Inspect recovered oil and removed components for abnormal color, odor, sludge, or metal fragments. Metal debris or severe discoloration is present in the oil or connected components. Internal compressor failure may have contaminated the entire AC circuit. Inspect the condenser, expansion device, hoses, and filter-drier. Follow the vehicle-specific contamination procedure. Replace affected components, use the correct oil type and quantity, flush only components approved for flushing, evacuate, and recharge. High
Electrical control system Compressor operation changes when wiring or connectors are moved. Scan for HVAC-related diagnostic codes and inspect connectors, grounds, fuses, relays, pressure sensors, and command signals. Intermittent voltage, corrosion, poor ground, or a stored control-system fault. The compressor may be mechanically sound but prevented from operating by an electrical or electronic fault. Test the circuit under load and compare sensor values with actual pressure and temperature conditions. Repair wiring, connectors, grounds, or sensors before replacing the compressor. Medium
Diagnosis confirmation A compressor replacement is being considered. Document symptoms, visual findings, pressure behavior, electrical tests, leak results, refrigerant quantity, and contamination status. Mechanical failure is supported by multiple independent test results. Compressor replacement is justified only after other causes have been excluded. Obtain a stable post-repair result: correct charge by mass, no leaks, normal clutch or control operation, suitable vent temperature, and no abnormal noise. Complete the repair, perform the required system evacuation and recharge, and verify operation at idle and road speed. Medium
Safety and accuracy note: Automotive refrigerant is stored under pressure and must be recovered, evacuated, and charged with approved equipment. Refrigerant type, oil specification, pressure limits, charge mass, and compressor replacement procedures vary by vehicle. Always use the vehicle's service information and applicable local regulations.

Gather Tools, Safety Equipment, and Replacement Parts

How to Repair a Car AC Compressor in 2026?

Gather Tools, Safety Equipment, and Replacement Parts

Prepare before opening the system. You need manifold gauges, a refrigerant recovery machine, a vacuum pump, a digital scale, and an electronic leak detector. Add insulated gloves, safety glasses, and protective clothing. Refrigerant can freeze skin and damage eyes. Use wheel chocks and disconnect the battery before touching the compressor wiring. Keep the work area ventilated.

The U.S. Environmental Protection Agency’s Section 609 guidance requires certified handling of vehicle refrigerants in the United States. Never release refrigerant into the atmosphere. SAE J2788 performance requirements also emphasize accurate recovery and charging equipment, with common service targets near 15 grams of charge accuracy. That small difference matters. Too much refrigerant can raise pressure, while too little may starve the compressor.

Match the replacement compressor to the vehicle’s engine, refrigerant, oil type, mounting points, and electrical connector. Purchase new seals, the correct oil, and often a receiver-drier or accumulator. A contaminated system may also require a filter and expansion device. Check the service manual twice. I have seen repairs fail because the old oil quantity was guessed, not measured. That mistake feels minor, but it can destroy a replacement compressor. Inspect the belt, tensioner, condenser, and hoses before installation. The compressor may not be the real problem.

Remove the Faulty Compressor and Recover the Refrigerant

How to Repair a Car AC Compressor in 2026?

Removing a failed compressor begins with diagnosis, not guesswork. Confirm clutch, electrical, pressure, and leak symptoms before opening the system. A noisy bearing may imitate low refrigerant. I have seen unnecessary compressor replacements caused by a blocked condenser.

Recover the refrigerant with certified recovery equipment and an approved cylinder. Never release it into the atmosphere. The United States Environmental Protection Agency requires refrigerant recovery during motor-vehicle air-conditioning service. Record the recovered weight, refrigerant type, and oil condition. This information reveals possible leaks or contamination. Disconnect the battery, remove the belt, unplug the compressor, and cap every open line immediately. Dirt and moisture enter quickly. Remove the mounting bolts evenly, then compare the replacement unit’s oil quantity with the service specification. Too much oil can reduce cooling performance. Too little may damage internal parts.

Tips: Wear eye protection and insulated gloves. Use a calibrated scale, not guesswork. The International Energy Agency reported that cooling energy demand could more than triple by 2050, increasing pressure on technicians to prevent refrigerant losses. The 2022 UNEP Refrigeration, Air-Conditioning and Heat Pumps Technical Options Committee report also emphasizes better servicing and leak control. These figures support careful recovery, even during small repairs. My own practical warning is simple: evacuation times are often rushed. A short vacuum test may miss a slow leak. Hold the vacuum, inspect connections, and verify stable pressure before recharging.

Install the Repaired or Replacement Compressor Correctly

How to Repair a Car AC Compressor in 2026?

Install the repaired or replacement compressor carefully, because incorrect fitting can damage the entire cooling system. Recover the refrigerant with approved equipment before opening any connection. Never release refrigerant into the atmosphere. Disconnect the battery, then inspect the hoses, wiring, belt, and mounting brackets for damage.

Flush the lines if the old compressor failed internally or released metal particles. Replace the receiver-drier or accumulator, and inspect the expansion device. Use new, compatible O-rings on every opened connection. Add the manufacturer-specified oil amount, but subtract oil already included in the replacement compressor. Too much oil can reduce cooling performance.

Mount the compressor evenly and tighten each bolt to the service-manual torque. Check pulley alignment by hand before installing the belt. A small misalignment can create noise within minutes. Evacuate the system with a vacuum pump, then perform a vacuum-hold test. If the pressure rises, find the leak before charging.

Charge the system by weight, not guesswork. Check vent temperature, clutch operation, and high-side and low-side pressures. I once noticed a weak cooling result after installation and found an overlooked electrical connector. That mistake was simple, but avoidable. Recheck every connection before returning the vehicle to service.

How to Repair a Car AC Compressor in 2026? Install the Repaired or Replacement Compressor Correctly

The chart shows typical service time by installation stage for a passenger-vehicle AC compressor replacement. Correct work includes refrigerant recovery, component installation, evacuation, leak testing, recharging, and final cooling verification. Actual time varies with vehicle design, access, refrigerant type, and compressor damage.

Total estimated service time: 245 minutes. Refrigerant must be recovered with approved equipment, the system should be evacuated before charging, and leak and performance checks should be completed before returning the vehicle to service.

Recharge, Test, and Verify the Complete AC System

How to Repair a Car AC Compressor in 2026?

Recharge, Test, and Verify the Complete AC System

A weak compressor is not always the real problem. Check the belt, clutch, wiring, fuses, and refrigerant pressure before removing parts. With the engine off, inspect oily marks around hose connections and the compressor body. Oil often indicates a refrigerant leak. It is a useful clue, not final proof.

Recover any remaining refrigerant with approved equipment. Never release it into the air. Replace damaged components, then evacuate the system with a vacuum pump for at least thirty minutes. Watch the gauges afterward. If vacuum rises quickly, the system still leaks. Add the correct refrigerant amount by weight, not guesswork. Too much refrigerant can raise pressure and damage the compressor.

Tips: Use gloves and eye protection. Keep hands away from the belt and cooling fan. Start the engine, select maximum cooling, and observe clutch engagement, vent temperature, and high-side pressure. Compare readings with the vehicle service data and outdoor temperature. A cold vent alone does not prove complete performance. Test airflow, condenser cooling, and cabin temperature at idle and during a road check. Listen for grinding or repeated cycling. I have seen compressors blamed when a blocked condenser caused the real fault. If pressures remain abnormal, stop testing and use certified professional equipment. One missed leak can waste the entire recharge.